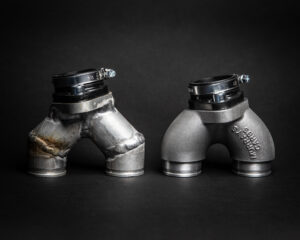
Hand Welded to Cast Intake Upgrade Install
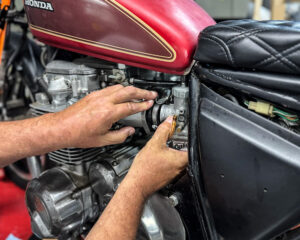
So, you have decided to upgrade your intake manifolds for your Murray’s Carburetor Kit to a newer version. Here are some simple instructions to get your new intake manifolds installed properly on your motorcycle. If you have any questions after reading through these steps please feel free to email or call us using the contact information at the bottom of our webpages.
Step 1. Loosen the 7mm clamp bolt (circled in red) Mikuni rubber spigots that hold your carburetors onto the manifolds with a Philips head JIS screwdriver or 1/4″ socket. This will allow you to remove the carbs, and rest them on your crankcase.
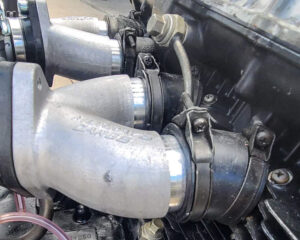
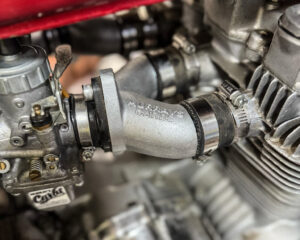
Step 2. Once you have removed the carbs you can now loosen your isolator boot clamps to free up your old intake manifolds. This is a good opportunity to inspect your clamps as well. If the ends are touching the ones pictured below you need to switch to a stainless steel automotive band clamp like the ones used in the picture above. Stock clamps stretch out over 40 plus years and leave you with irritating vacuum leaks.
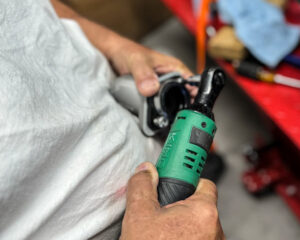
Step 3. Now that your clamps are loose, pull out your old intakes and remove the Mikuni rubber spigot adapters using a 6mm Allen key or socket, and install them on your new high flow cast intakes using the same 4 Allen bolts.
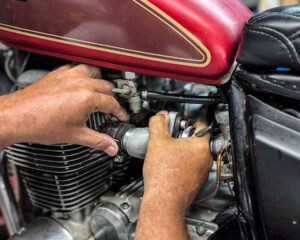
Step 4. Now press your new intakes into your isolator boots, and then snug your clamps down firmly to ensure there are no air leaks. Keep in mind they should be orientated so the carburetors angle inwards. This makes the inside two cylinders that do not get as much air at idle slightly more rich for air cooled motorcycles.
Step 5. You can now press in your Murray’s Carbs to your new intake manifolds.
Step 6. Tighten up your Mikuni rubber spigot clamps to snug your Murray’s Carbs into place. Remember you can angle your carbs inwards at an angle because Mikuni VM carburetors have dual floats. This can allow room for your cable to avoid obstructions like your frame, tank, etc. If your cable is bent out of place it will lift your slides and cause an assortment of issues.
Step 7. Go for a ride and enjoy more smiles per hour. Again, if you have any questions at all please reach out to us using the contact information at the bottom of each and every one of our web pages.
If you have any questions after reading through these steps please feel free to email or call us using the contact information at the bottom of all of our webpages.
