
Murray’s Honda DOHC Coil Relay Kit Installation Guide
Murray’s Honda DOHC Coil Relay Mod eliminates stubborn electrical issues by supplying direct battery voltage to the coils. Below you’ll find complete instructions on how to install your kit. If you have any questions, please don’t hesitate to call or email us, and we will be more than happy to assist.
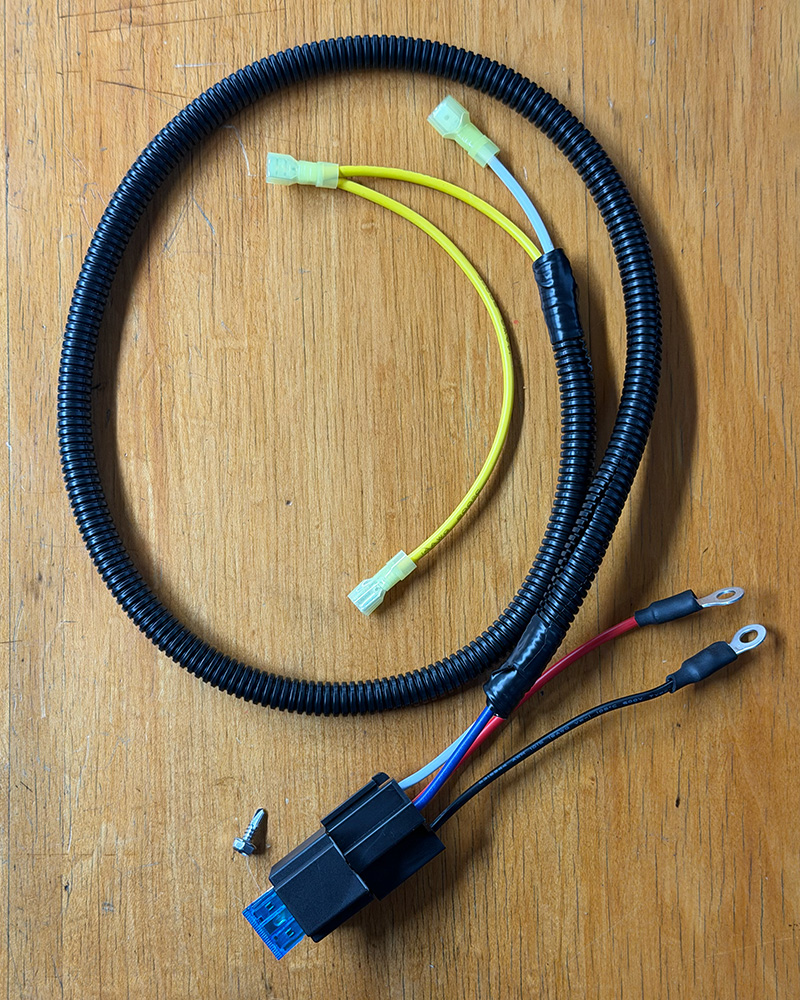
Wire Explanation:
- Black – Ground to Battery
- Red – Positive to Battery
- White – Trip Wire to Black/White Coil Wire
- Yellow – Power to Coil
- Yellow Pigtail – Power to other Coil
Step 1. Disconnect your positive and negative cables from your battery.
Step 2. Decide where you will mount your relay box. We supplied a self-tapping screw if you would like to mount the kit like in the picture below. You can see we have removed the fuse and mounted the relay to the battery cover.

Step 3. Connect your relay to the battery. Red is positive, and Black is ground.

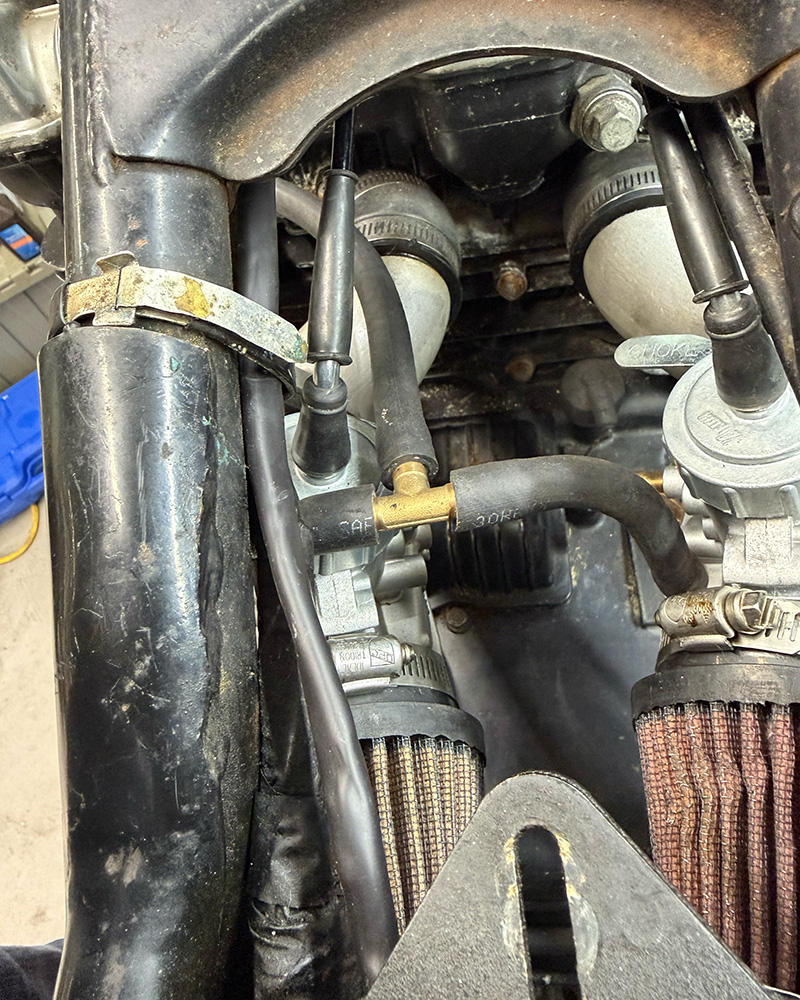
Step 4. Now you can run the rest of the relay wires down the frame alongside the stock wiring harness. As you can see, we have used the existing metal harness straps to keep the wires neatly in place.
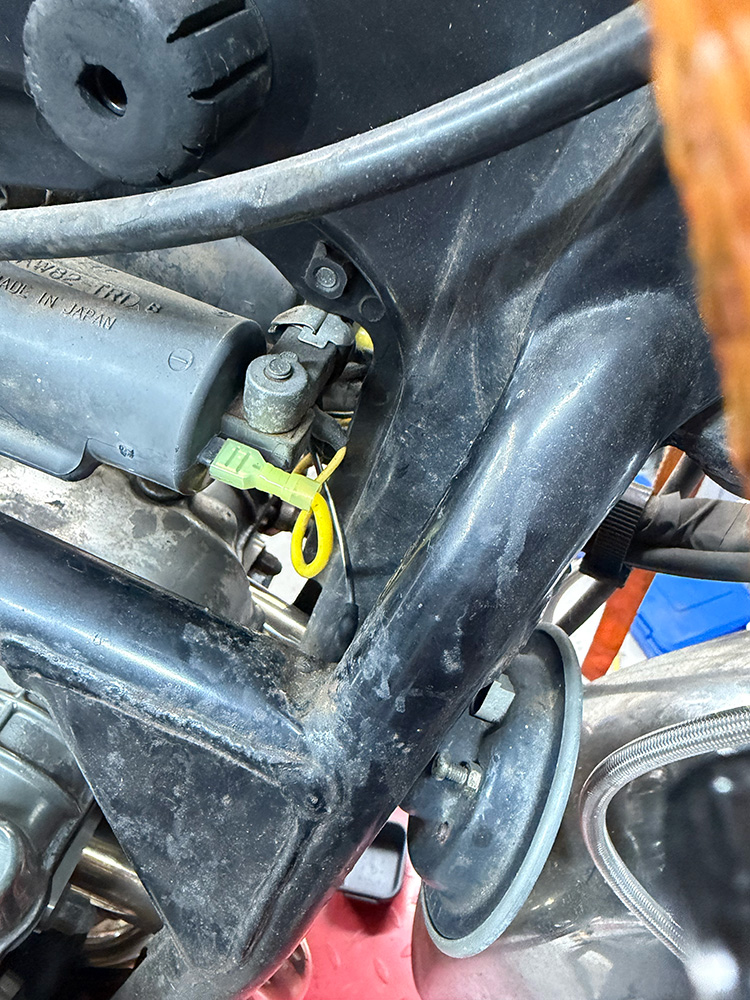
Step 5. Unhook both Black with White Striped wires from the coils. You can now hook the White wire from the relay to the Black|White wire on the left side of the motorcycle.
Step 6. Now hook your Yellow wires to the coils where the Black/White wires were connected before. The short Yellow pigtail is for the right coil.
Step 7. You can now place the fuse in the relay, and you’re off to the races! You will now have direct voltage to the coils and the best spark possible. If you have any questions, please give us a call or send us an email. Check the kit out here!