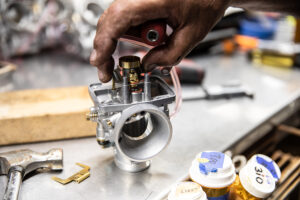
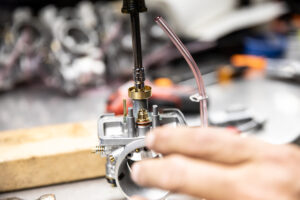
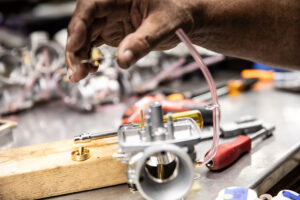
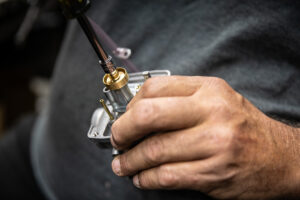
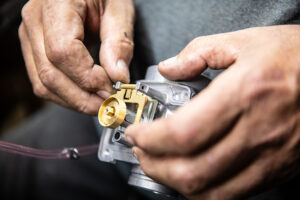
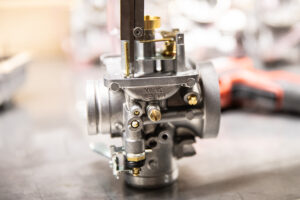
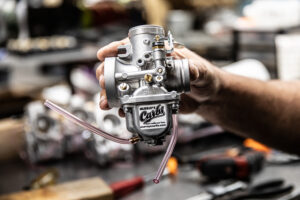
How To Remove a Mikuni VM Series Float Pin, Needle Seat for Cleaning or Replacement
Do you have fuel coming out of your carburetor overflow line?
Chances are you have something inside the float needle and seat. It could be a small piece of debris or a hunk of fuel line from your installation. This debris travels through the fuel line and underneath the needle seat. The Mikuni needle seat has a mesh filter that allows microscopic particles to pass, but large debris will get caught and cause the float needle valve to seat improperly. If the float needle doesn’t seal properly, fuel will continue to flow into the bowl, and when it gets high enough, it will escape out of the overflow line.
We recommend shipping your carburetors in so we can perform this procedure free of charge with the proper Mikuni tools, but we understand that sometimes, this isn’t the option you may prefer. If the second is you, follow these instructions carefully at your own risk.
If your carburetor post or any other parts are broken or damaged during this process, you are solely responsible for their replacement or repair.
First, you’ll need to get the carburetor off of your motorcycle to begin this procedure. To do this, turn off your fuel and drain the carburetor by removing the 17mm drain plug at the bottom of the carburetor bowl. Place a towel or rags underneath the carburetor to keep fuel from getting on your motorcycle. After the carburetor is free of fuel, you may remove the carburetor body by twisting off the top cap of the carburetor. This will release the cap, return spring, slide, needle jet, and retainer spring in one piece. Take your time and be sure your slide or needle isn’t damaged while hanging freely on the cable.
You are now ready to begin the procedure.
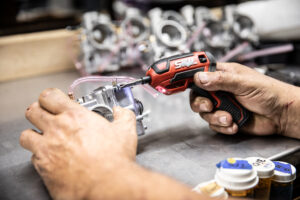
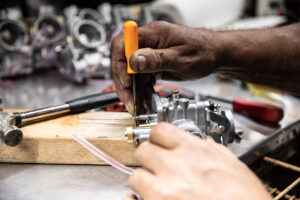
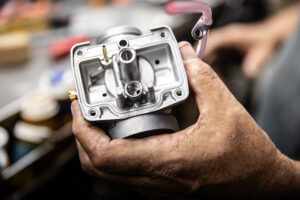
Step 1. Remove the bowl screws with a JIS screwdriver.
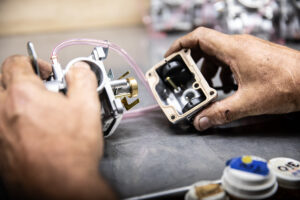
Step 2. Remove the bowl carefully so the bowl gasket isn’t torn or damaged.
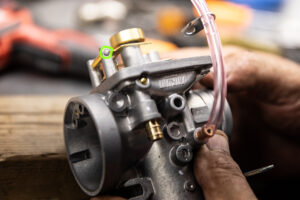
Step 3. Take not that one side of the float pin is wider than the other. The pin only comes out in one direction, and needs to be put back in the same way. The enlarged side is shown in the image below circled in green.
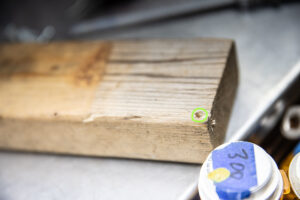
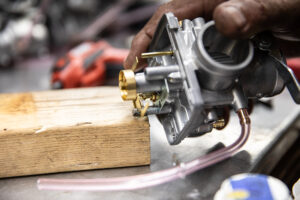
Step 4. Drill a hole in the edge of a board big enough for the enlarged side of the float pin to protrude. You can see our protrusion hole circled in green below.
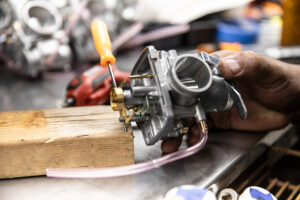
Step 5. Place the enlarged side of the float pin directly above the previously drilled hole.
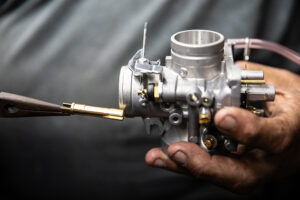
Step 6. Use a small punch or pic and a small hammer to lightly tap the float pin down into the hole in the board. Be gentle holding and handling the carburetor so as not to damage it or change your float height.
Step 7. Gently remove the carb body and float pin from the hole in the board.
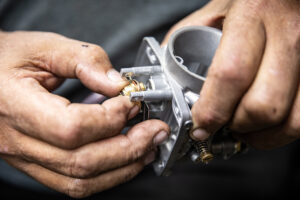
Step 8. You can now use a 10mm Socket to remove the needle seat. Be gentle as the needle seat is brass and much softer than steel or aluminum. When the main jet is removed the needle jet may fall out the bottom of the carb. If so, set it aside and we will reinstall it later in the instructions.
Step 9. Take note of the orientation of all the float needle seat parts so that you put them back together exactly the same.
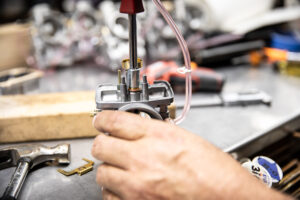
Step 10. Loosen the main jet and fuel diffuser using a 6mm socket.
Step 11. With the main jet and fuel diffuser removed you can now remove the needle seat, baffle plate, and other parts.
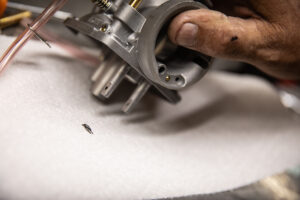
Step 12. Look for any debris and remove them carefully. Use care so as not to scar or damage the carburetor and parts. You can see the debris that came from below the needle seat below.
Step 13. Visually inspect the inside of the carburetor to be sure the underside of the float needle seat is completely clean and free of debris like the one below.
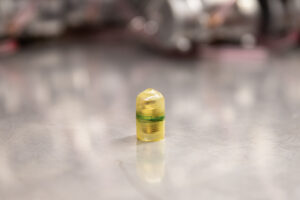
Step 14. If you’re replacing your float needle seat you can now take it out of it’s packaging and sit it on your bench to be installed.
Step 15. Carefully orientate the float needle seat, gaskets, buffer and start the threads into the body by hand, then tighten it with a 10mm socket. Only snug! The float needle seat is brass.
Step 17. Reinstall the needle jet into the carburetor. You can do this using needle nose pliers or even by hand. Take notice and care when doing this. There is a guide tang in the orifice, and it only fits one way.
Step 18. You can see here the needle jet can be seen inside the carburetor venturi. You’ll need to hold it in place with a finger while reinstalling the fuel diffuser, and main jet. 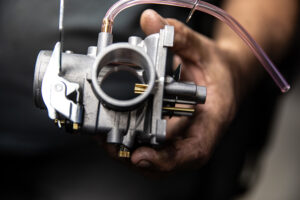
Step 18. Holding the needle jet in place you can now place the fuel diffuser on the carb and thread the main jet back into the needle jet with a 6mm socket.
Step 19. Next, align the float tang up with the posts and put in the pin by hand making sure it is in the appropriate orientation.
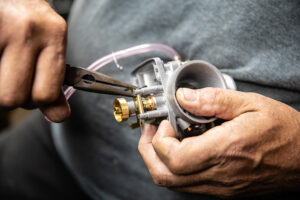
Step 20. Press the pin into place with pliers or by tapping lightly with a punch and small hammer. Gentleness is key here. You do not want a broken post.
Step 21. Now would be a good time to check your float height. It should be set at 23mm with a caliper in the orientation shown below. Lock your caliper at 23mm and use it as a gauge then adjust accordingly.
Step 22. Put the bowl back into place gently, screw in the bowl screws, reinstall the carb on your bike, and viola… You’re done! Go for a ride. If you have any questions about this process please email or call us using the contact information on the bottom of each and every page on our website.
