Kawasaki KZ400 (1974-1977) Carburetor Kit Installation Guide
Here are a few simple steps to get you on your way to enjoying your new Murray’s Carbs setup for your Kawasaki KZ400. Please remember that each set of carbs is jetted and tested before shipping so please reach out to us before making any adjustments. If you have any questions, feel free to contact us via email or phone. Both are listed at the bottom of this page.
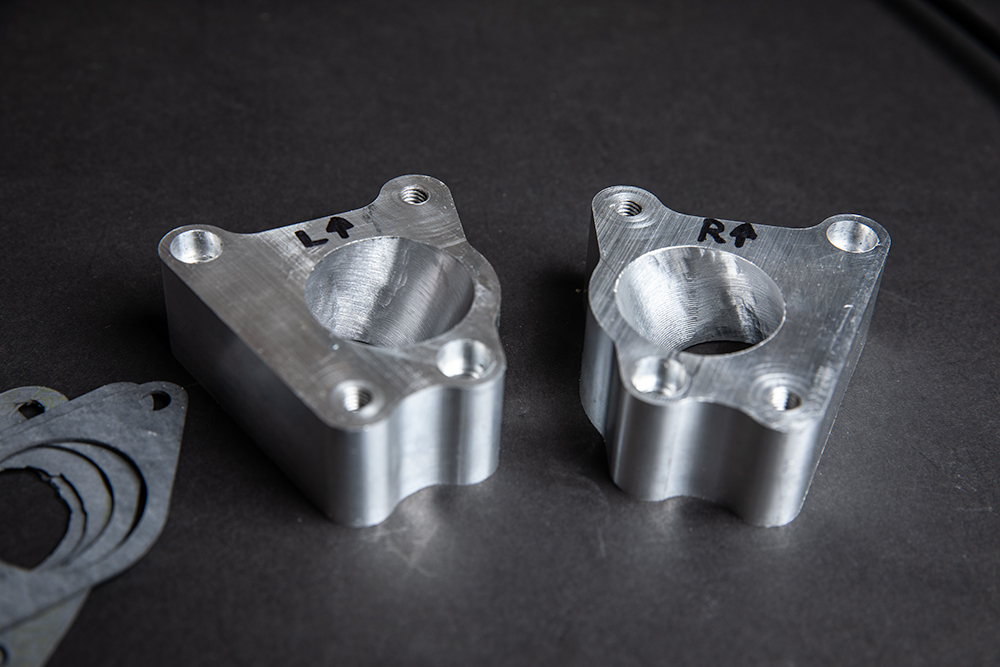
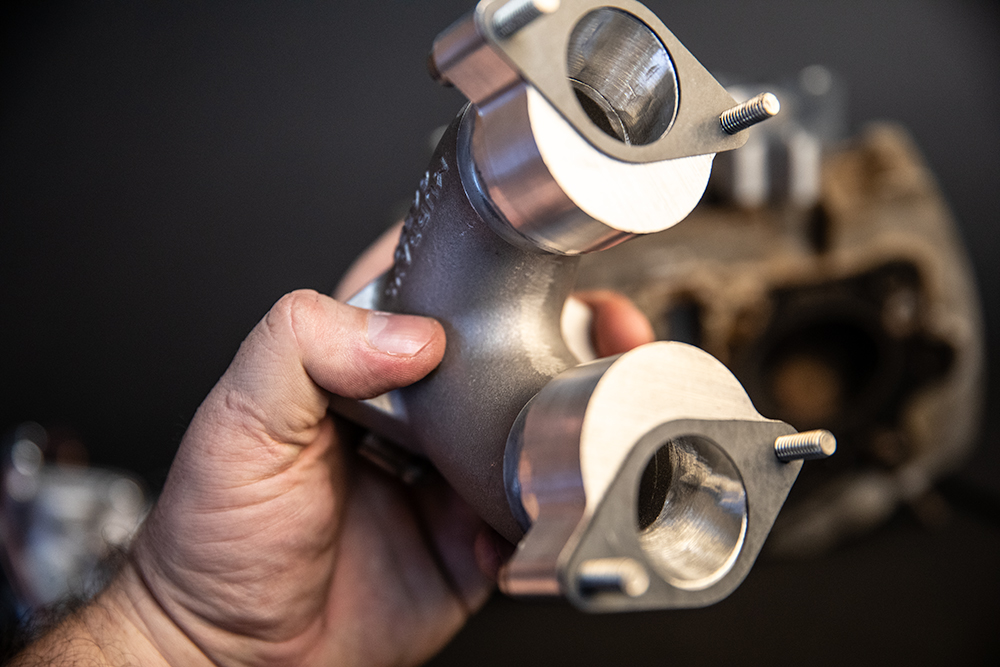
Step 1. Inspect the custom aluminum adapter flanges. You will see R with an arrow on one and L with an arrow on the other. The “R” is for the right and the arrow is the direction up should be orientated. Make sure the chamfered holes face away from the cylinder head toward the rear of the motorcycle. You’ll also notice the ports will be pointed inwards from bottom to top.
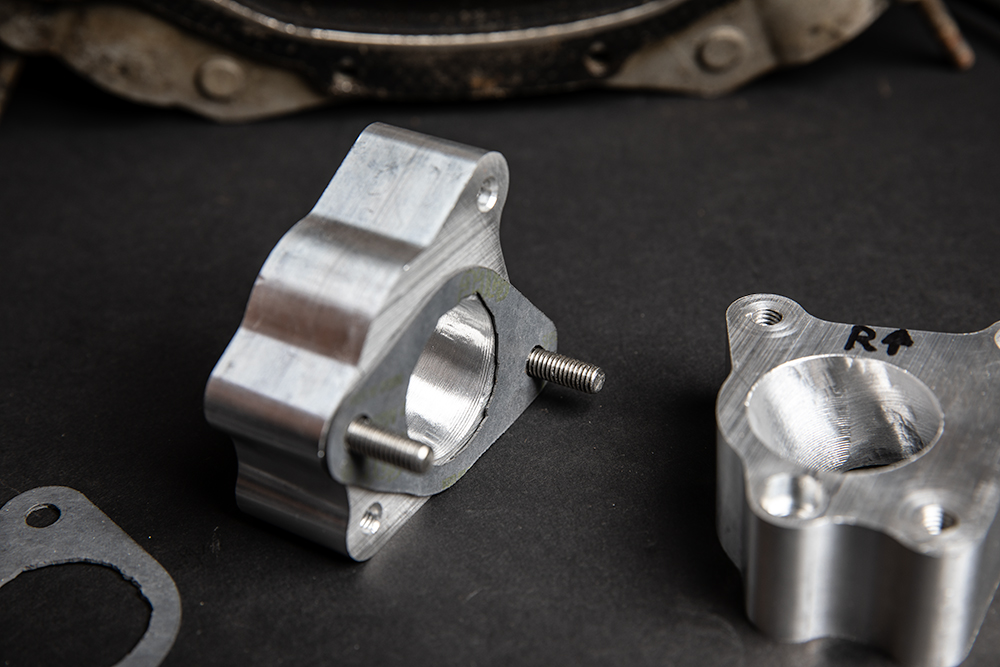
Step 2. Using grease, and the supplied bolts, install the gaskets onto both adapter plates. You can grease both sides if you would like or use a silicone gasket maker.
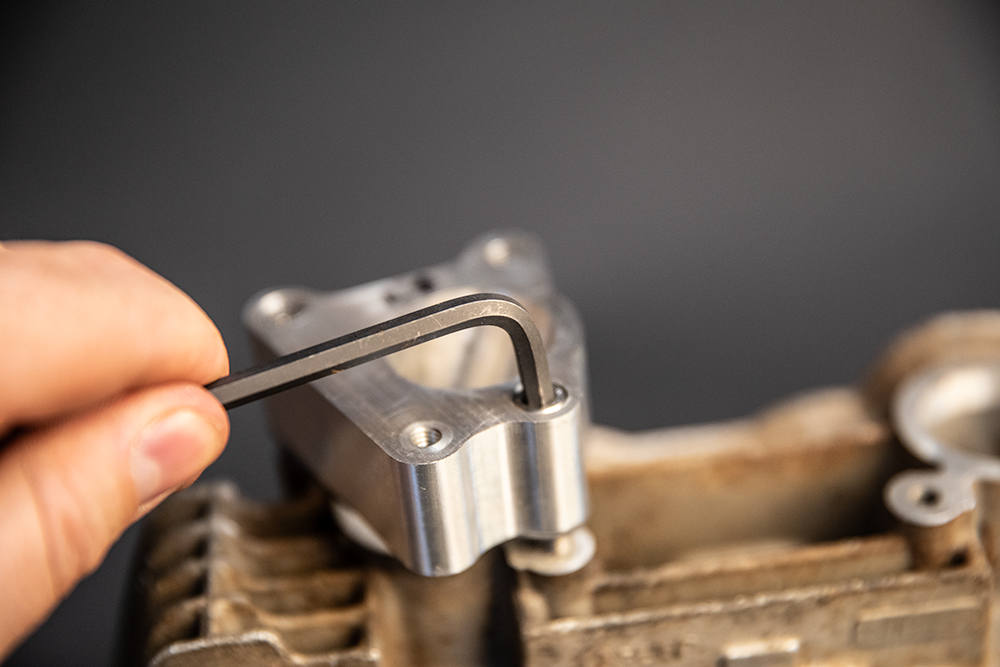
Step 3. Carefully start the threads by hand then snug down the Allen bolts using a M5 Allen key or socket.
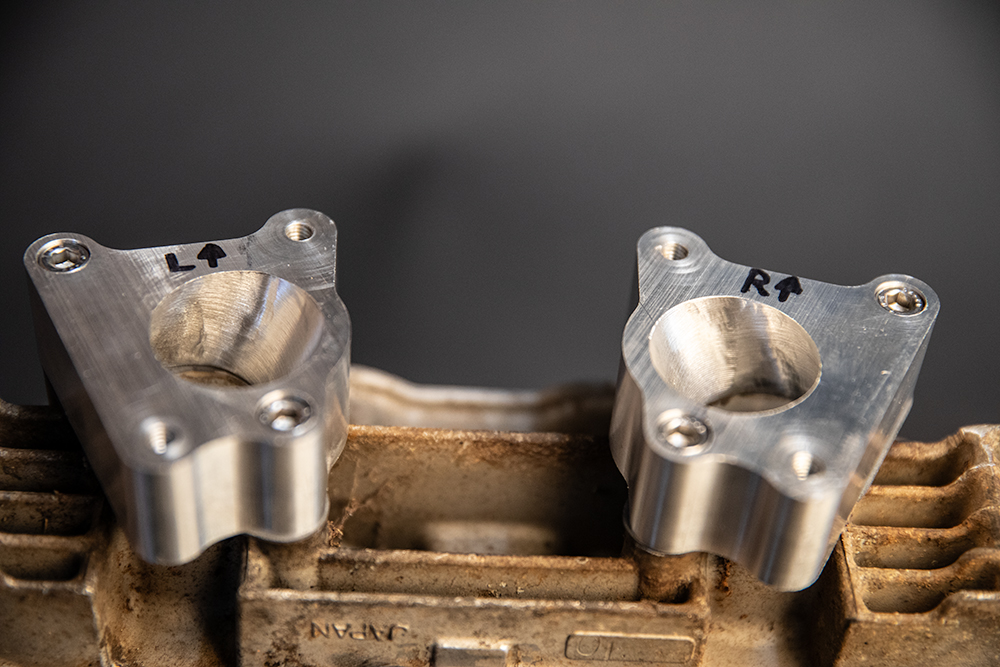
Step 4. Once you have snugged down all 4 bolts inspect the intakes and make sure they are orientated like the photo below.
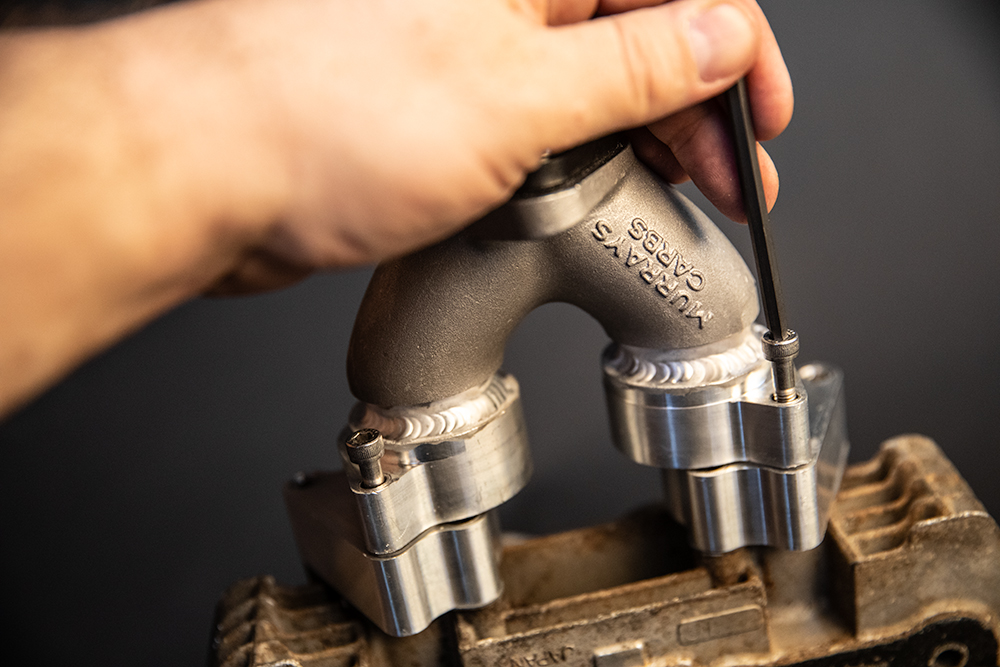
Step 5. Using more grease or silicone place the gaskets on the intake manifold with the bolts in place. The grease or silicone will help the gasket stick or stay in place when bolting the intake to the adapter flanges.
Step 6. Carefully thread in the intake manifold bolts by hand and then tighten them down using an M5 Allen key or socket.
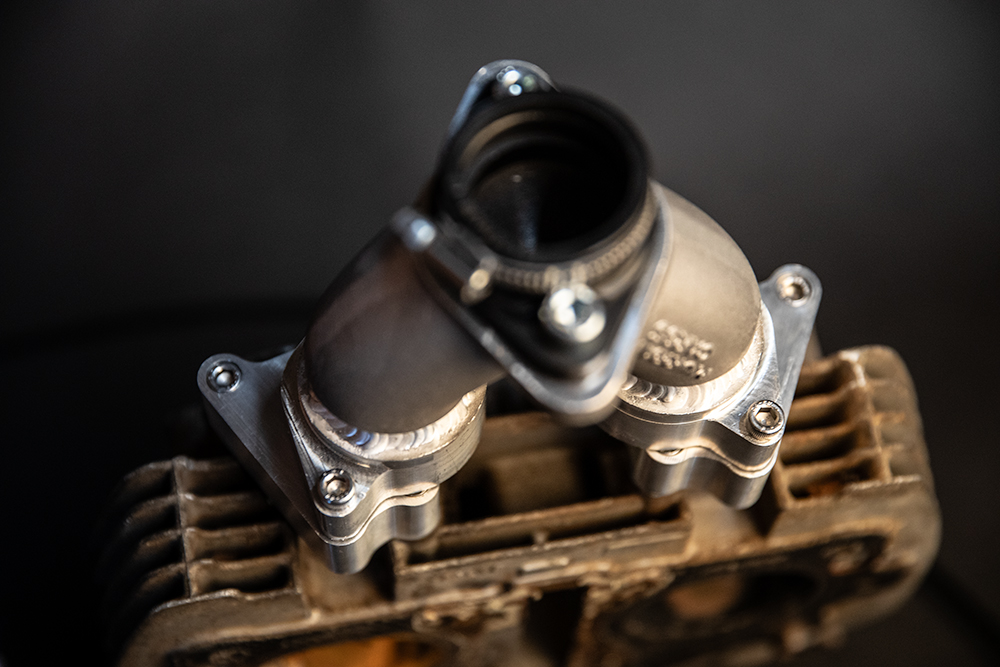
Step 7. If installed correctly your intake manifold should like the one in the photo below, and you are now ready to move on.
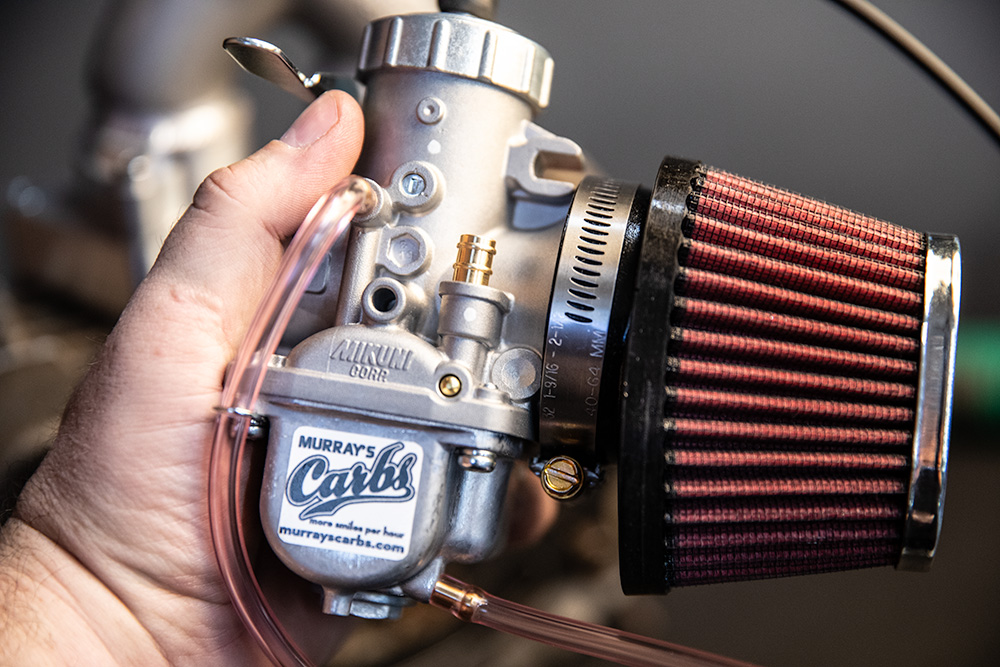
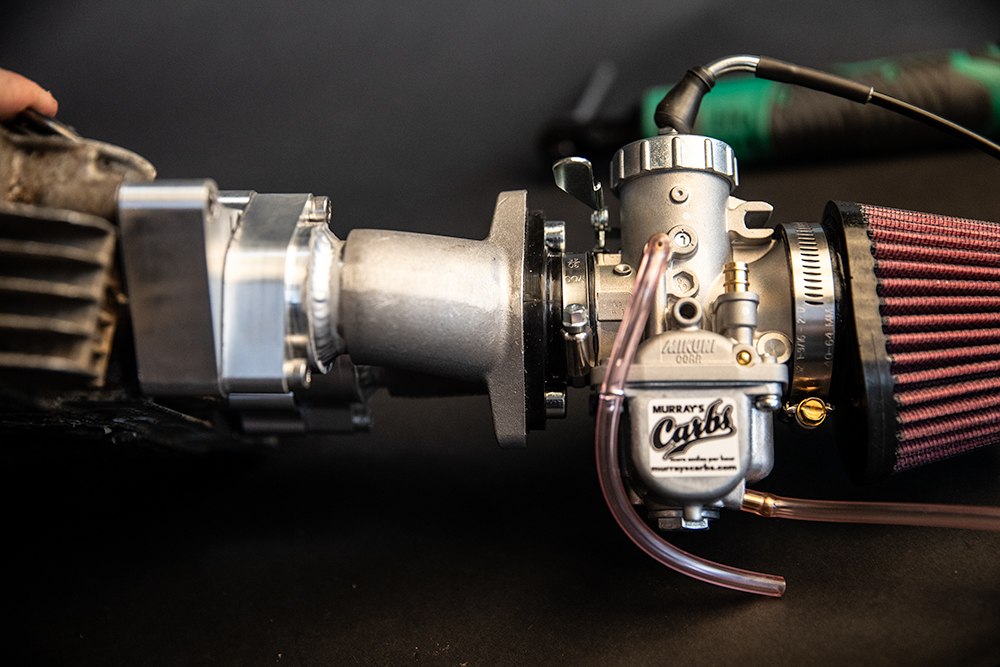
Step 8. Loosen the clamps on your pod filters to the point they are on about the last gear in the clamp. This will give you space to push the over the Mikuni carburetor with ease, and without bending them. Many people fail to loosen the clamp far enough and have a really tough time installing the pods. After they’re on and lined up snug the clamp back down firmly.
Step 9. Loosen the clamp on the intake spigot and press the carburetor gently into place. Once in place, snug the clamp back down.
Step 10. Now you can route your cable. Run the cable up the neck of the frame on top and under the gas tank. Do not route it below the frame. Doing so will bend the cable and cause a multitude of problems. After routing up the frame take the cable through the forks on the right hand side and up to the throttle housing. Attach to your throttle housing and go for a ride.
*Please do not hesitate to reach out if you have any issues or questions about this procedure or anything else to do with any of our products. Thank you for your purchase. Together we are keeping these amazing machines on the road. *
