Triumph America and Speedmaster 865 or 790 Carburetor Kit Installation Guide
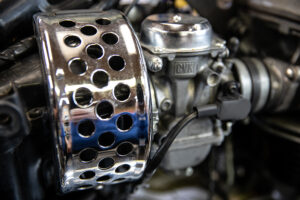
Step 1. Begin by removing the gas tank, seat and then the chrome vanity air box boot cover shown below. Some of you will remember when Triumph air filters looked like this vanity piece.
Step 2. Loosen the air box adapter band clamps on both sides of the motorcycle.
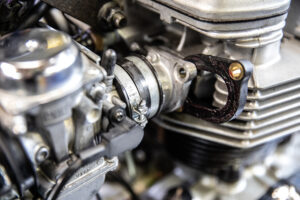
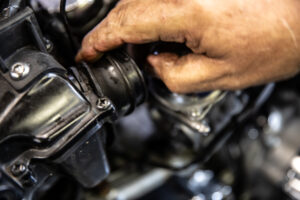
Step 3. Loosen the band clamps closest to the carburetors around the rubber isolator boots with a flathead screwdriver on each side.
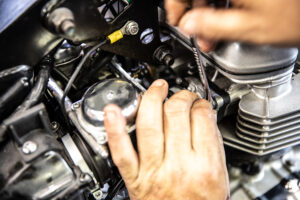
Step 4. Next, loosen the intake manifold bolts, and remove them.
Step 5. Remove the spacers between the cylinder head and intake manifolds.
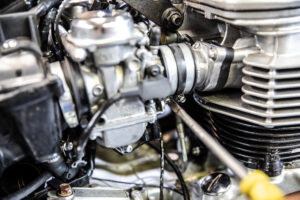
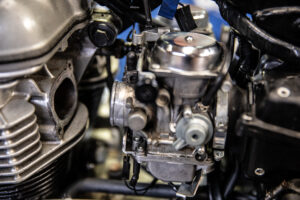
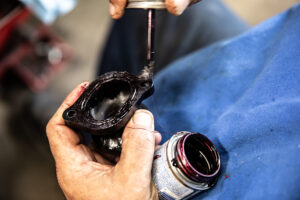
Step 6. Now remove the intake manifolds from the stock Keihin carburetors.
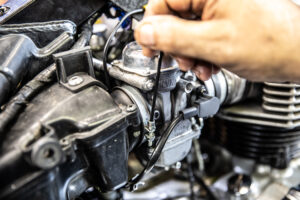
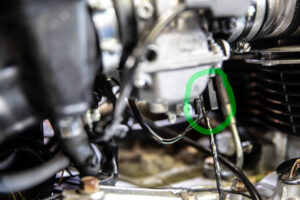
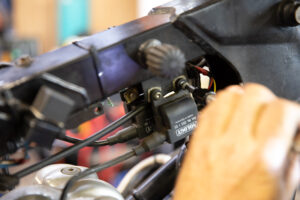
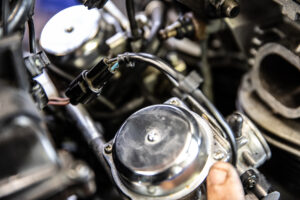
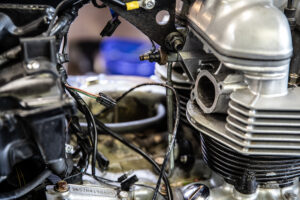
Step 7. Disconnect the temperature sensor and bowl heaters from the bottom of the carbs. Remember they are on both carburetors, and only pull on the connectors as the wires are quite small.
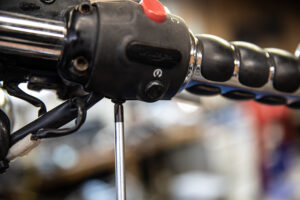
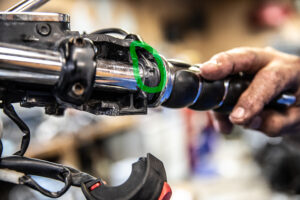
Step 8. Now lets move to the throttle housing and remove the screws using a phillips head screwdriver. Don’t forget to unscrew the cable screw as well.
Step 9. Separate the two halves of the throttle housing and remove the cable ends from the plastic throttle tube releasing it from the housing.
Step 10. Next, temporarily remove one of the coils from the frame to make space for the cables to be removed. Once the stock cable is removed reinstall the coil to the frame as they were. We will not be routing Murray’s cable in the same way.
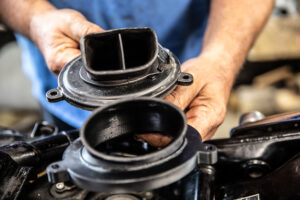
Step 11. Now that the cable tension is loosened remove the carbs from the air box boots and remove the air box boots completely from the air box. These will be replaced with Murray’s Triumph air box boots in a moment. While removing the air box boots rest the OEM carburetors on the crankcase.
Step 12. Disconnect the TPS (Throttle Position Sensor) connector from the wiring harness and tuck the wires out of the way.
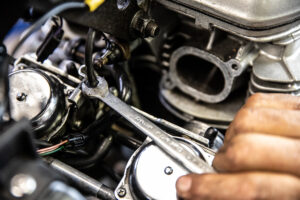
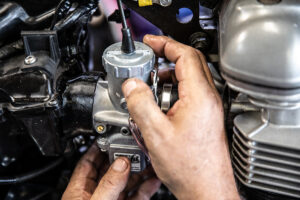
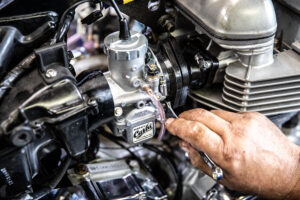
Step 13. With all the wires now disconnected we can now use a wrench to release the stock cables from the stock carburetors.
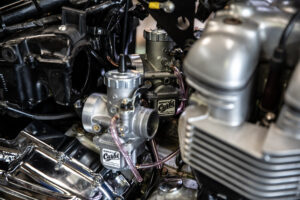
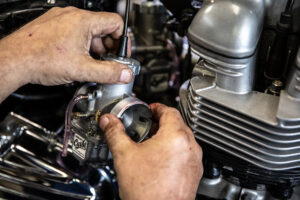
Step 14. Now the Triumph OEM carburetors can be completely removed from your motorcycle. You can take this time to tuck away and clean up the TPS switch, temperature sensors, and bowl heaters. We will not be using these with Murray’s Carbs.
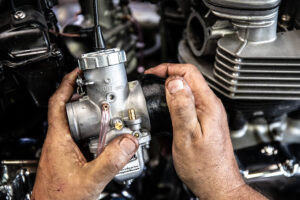
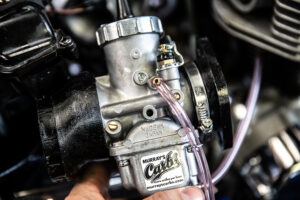
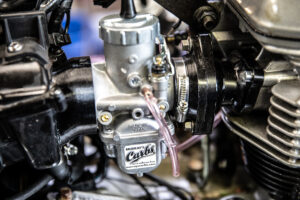
Step 15. Hold your new carburetors below the splitter and straddle the cable and carbs over the frame rail of your motorcycle. One car on one side and the other carb on the other side.
Step 16. It is now time to install Murray’s air box boot adapters. Take notice of the “UP” indicator before going further.
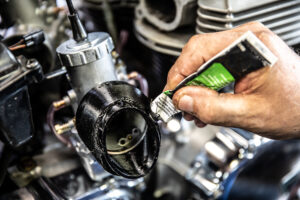
Step 17. Put a bit of grease on each carburetor back.
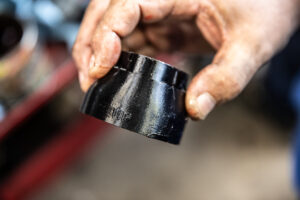
Step 18. After the grease has been applied, gently press on the air box boot replacements to the back of the carbs. Take time to make sure the “UP” indicators are facing UP.
Step 19. With the clamps loosened press the genuine Mikuni Spigot to the cylinder head side of the carburetor. You will feel it snap into place. Leave this loose, but in place on the carb so it can be aligned later.
Step 20. Use a bead of RTV silicone or grease on the outside lip of the air box boots to ensure an airtight seal on the air box.
Step 21. Next, press the air box adapters into the air box gently. You will feel the snap into place as they seat in the recess. Make sure the “UP” indicators are still upwards. This will ensure proper alignment of the kit to the cylinder head. Please note it is important to install the right carb first. Do not install the left side carb until this one is completely in place.
Step 22. Apply grease to the o-rings and o-ring land on Murray’s custom tuned intake manifolds. This will aid in keeping them in place while inserting the manifolds into place between the Mikuni spigots and cylinder head.
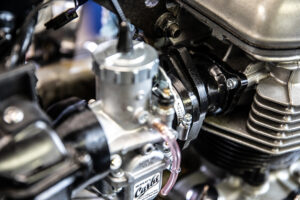
Step 23. Now install the right intake manifold using the M6 x 20mm Hex Bolts. When threading the inside bold you’ll understand why we said to do the right side carb first. This allows you the space from the left side of the bike to snug the inside bolt down.
Step 24. Twist the Mikuni Spigot adapter to align it with the intake manifolds.
Step 25. Now install the provided 10mm bolts to secure the Mikuni spigot to the intake manifold. Its best to start them by hand then snug them with a wrench.
Step 26. Snug up the Mikuni spigot band clamp, and you are ready to install the left carb in the exact same order. Go back to the beginning of these instructions if you have forgotten the steps.
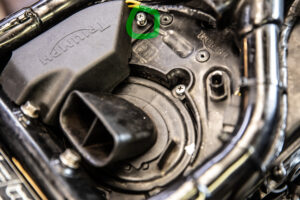
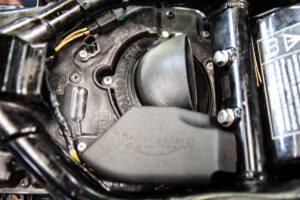
Step 27. Once the right carb has been installed it is time to replace your stock Triumph air box lid with Murray’s high flow version. First uninstall the wire cover with the Triumph logo shown in the picture below by taking out the phillips screw circled in green.
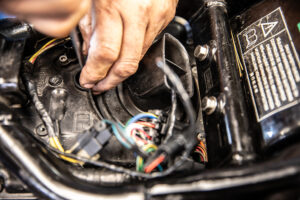
Step 28. Now remove the 3 other screws to remove the original air box lid and set it off to the side.
In the picture below Murray shows a side by side comparison of the stock lid and our performance one. The airflow is greatly improved by this modification.
Step 29. Just set your new high flow air box lid in place, put the screws back in and screw the Triumph wire cover back into place.
Step 30. Now you can connect your new throttle cable to the throttle housing. Please remember the cable should be routed on top of the frame, through the left fork, around the headlight, and to the throttle housing. Any kinks, harsh bends, can cause issues. If you run into any issues please call us using the contact information at the bottom of each and every one of our webpages. Now, you can reinstall your chrome vanity pieces, tank, seat, and go for a ride. Enjoy!
